 |
| Fig.1 Dining room walls damages Left, middle and right wall repair |
Supplies and Tools:
500 watt Heat lamp
Caulking white
Cordless screwdriver with many tips
Razor knife and extra blades
Scraper (2 in. 3 in. and 5 in. wall knife)
Screwdriver Flat (regular and small)
Screwdriver Phillip
| Fig.2 Drywall knife |
Tarps cotton 9 ft. x 12 ft.
Trash bag or trash can
Tool bag
Vacuum Cleaner
Vice Grip
Wall tape (paper)
A client in Santa Clarita, California was selling their home and moving to Colorado. Their realtor checked the kitchen nook and noticed that the dining room wallpaper was loose. She also noticed that the kitchen windows had bad rubber seals and leaked when the backyard sprinklers were sprayed on the glass windows. This needed to be repaired immediately.
This post shows the seven steps showing the damages to this kitchen nook wall.
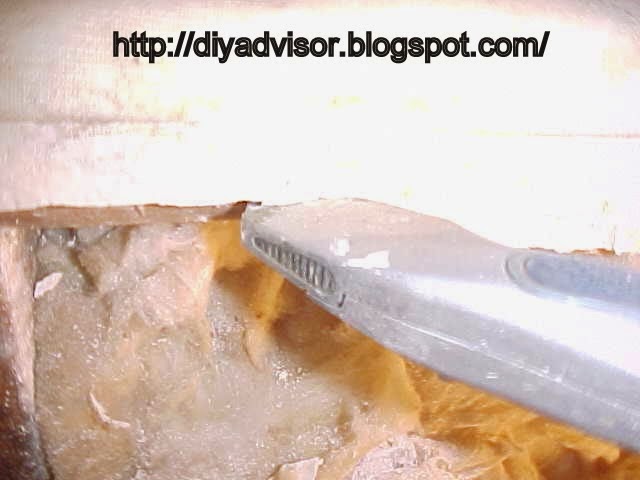
Step 1: Fig.1 shows the kitchen nook wall that needs repair and fig.2 shows a drywall knife used to cut up the wall so it can be square for repairs.
Step 2: Fig.3 through fig.5 shows the removal of the electrical plug that was in the center damaged wall. All the fiberglass was wet and needed to dry out before the new wall panels were replaced. Fig.4 shows that a small flat tipped screwdriver was used to remove the two outlet screws. Fig.5 shows the outlet completely out of the electrical box.
 |
| Fig.3 Wet electrical |
 |
| Fig.4 Remove outlet screws |
 |
| Fig.5 Pullout duplex plug |
 |
| Fig.6 Cut edges square |
 |
| Fig.7 Cut to stud |
 |
| Fig.8 Wallboard removed |
 |
| Fig.9 Wallboard removed |
 |
| Fig.10 Cleaning the studs |
 |
| Fig.11 Vacuuming inside the wall |
 |
| Fig.12 Drying insulation |
How To Repair a Kitchen Nook Wall:
- Part 1 of 5 - Damages
- Part 2 of 5 - Removing Wallpaper
- Part 3 of 5 - Remove and Repair Wall
- Part 4 of 5 - Install New Sheetrock
- Part 5 of 5 - Applying Wallpaper
Update: DIY Advisor has New blogs check them today:
- Handyman Blog: DIY Advisor
- DIY Advisor Sitemap
- Food Blog: From Kiwis To Pistachios
- Food Blog Sitemap
- Tool Blog: DIY Advisor Toolbox
- Tool Blog Sitemap
- Artwork Blog: Light in Dark Artwork
- Artwork Blog Sitemap
- Class-A Tests: DIY Class-A Drivers License Tests
- Class-A Tests Sitemap: Class-A Sitemap
- DIY Poem: DIY Poem Meter Blog
- DIY Poem Sitemap: DIY Sitemap
- Cookie Alert: European Union laws requires that you know that this blog uses cookies. If you are concerned about this please click here to see how Google uses this information.
Note: The
DIY Advisor assumes no liability for omissions, errors or the outcome of any jobs. The reader must always exercise reasonable caution, follow current codes and regulations that may apply, and is urged to consult with a licensed contractor if in doubt about any steps on these posts. All names were changed to protect client's privacy. DIY Advisor. Reproduction of
site content including photos without permission prohibited. All rights reserved.
© Copyright 2011-

No comments:
Post a Comment