 |
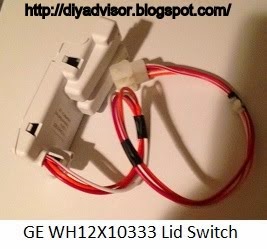
| Fig.1 Lid Switch part |
By Gary Boutin
Supplies and Tools:
GE WCRE6270 Owner's Manual
Hex head Screwdriver 1/4 inch
Lid switch kit WH12X1033
Schematic diagrams directions
This post shows the twelve steps to replacing a General Electric Model Lid Switch Assembly and returning the washer to its original condition.
Step 1: Fig.1 shows the new washer lid switch part WH12X1033.
Step 2: Fig.2 shows the old wiring harness is pinned under the washing machine metal lid switch.
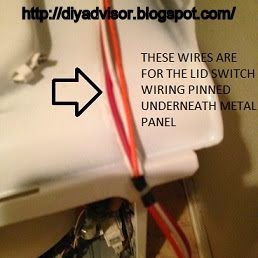 |
| Fig.2 Lid switch cable |
Step 3: Fig.3 shows the locate the plastic lid switch under the washer top, remove the old switch by pushing out the ends of the clip style (U-shaped connection).
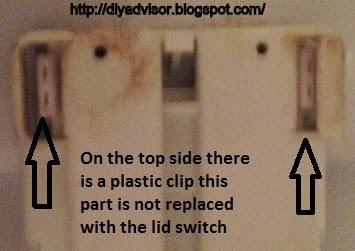 |
| Fig.3 Lid Switch U-shaped connection |
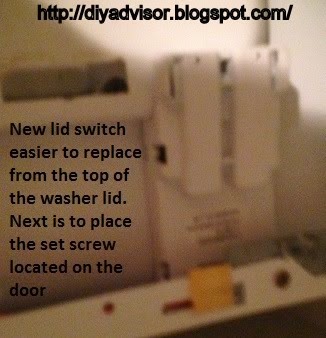
Step 4: Fig.4 and fig.5 shows the installation of the new lid switch by attaching the connections from the old switch. Fig.6 shows placing the set Phillip screws to secure the lid switch. Set
the lid down and slide it backward so the lip pushes under the control
panel. Fig.7 shows what the switch should look like when properly installed. Remember it the back end of the switch which is seen from the top of the washer lid.
 |
| Fig.4 Installing new lid switch |
 |
| Fig.5 Phillip mounting screw |
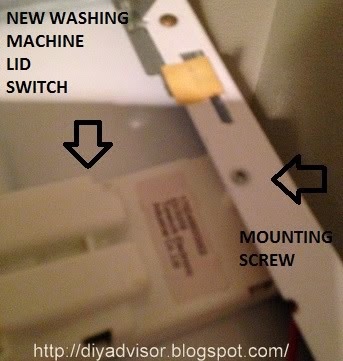 |
Fig.6 New lid switch
and Phillip mounting screw |
 |
Fig.7 New lid switch
should look like this |
Step 5: Fig.8 shows the new wiring harness has a new clip that came with the part. Fig.9 shows that the new clip has been inserted into the washing machine metal structure.
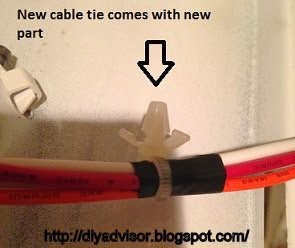 |
| Fig.8 New clip comes with new part |
 |
| Fig.9 Installing new clip from panel |
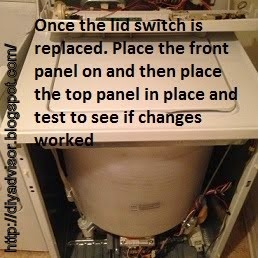
Step 6: Fig.10 shows the switch is replace, return the washing cabinet to its original condition. Place the top on the cabinet, insert the two screws in front back on, reset the front panel back on. The metal cabinet was replaced. Before the metal cabinet is installed this is a good time to clean the washer tub of accumulative dust. Below the tub is white again.
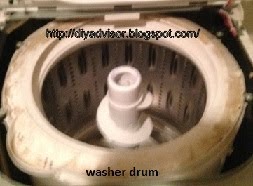 |
| Fig.10 Washer Drum cleaned |
Step 7: Fig.11 shows the re-attachment of the control panel to the washer body.
 |
| Fig.11 Front panel re-install |
Step 8: Fig.12 shows that re-attachment the front metal
panel and plug back into the wall. Now test the lid switch to see if the
problem has been solved.
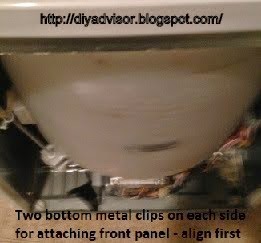 |
| Fig.12 Align front panel metal clips |
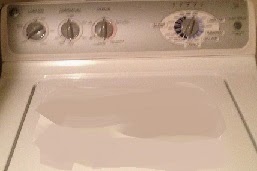
Step 9: Fig.13 shows the water level was set to small water load.
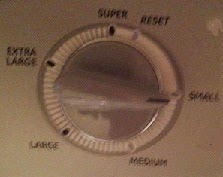 |
| Fig.13 Set water level |
Step 10: Fig.14 shows the Spin-cycle was set on the washer to see if the washer would spin.
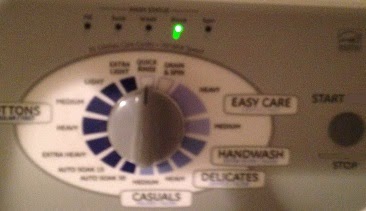 |
| Fig.14 Set wash cycle to Rinse/spin |
Step 11: Fig.15 shows the washer is spinning correctly.
 |
| Fig.15 Washer cycling |
Step 12: Fig.16 shows the laundry doors are closed for business, this job is finished.
 |
| Fig.16 Laundry room |
General Electric Washer Lid Switch Assembly:
Update: DIY Advisor has New blogs check them today:
- Cookie Alert: European Union laws requires that you know that this blog uses cookies. If you are concerned about this please click here to see how Google uses this information.
Note: The DIY Advisor assumes no liability for omissions, errors or the outcome of any jobs.
The reader must always exercise reasonable caution, follow Current codes and regulations that may apply, and is urged to consult with a licensed contractor if in doubt about any steps on these posts. All names were changed to protect client's privacy. DIY Advisor. Reproduction of site content including photos without permission prohibited. All rights reserved. © Copyright 2011-

No comments:
Post a Comment