Tuesday, February 17, 2015

How to Assemble AppleGate Garden Hanging Rack

Fig.1 Plant Stand
By Gary Boutin

Supplies and Tools:
Directions Page
Plant Stand kit
Phillip screwdriver 
Pliers

We wanted a plant stand for several herbs we were planting in our little patio. Our condominium has little private room and we wanted to share it with green evergreens and herbs. We purchased the AppleGate Garden Kit at our Sam's Club. The kit came with visual picture instructions to assist in the assembly of the product.

This post shows the six steps to assemble a AppleGate® hanging rack. 

Step 1: Fig.1 shows the AppleGate® Garden kit.
Step 2: Fig 2 shows the directions page:

Follow the directions below
Fig.2 Directions
Step 3: Fig 3 through fig.5 shows the parts lists and the assembly of the plant rack. Thread the bolts included into the metal stands and use a Phillip screwdriver with a pliers to hold the nut in place.
Fig.3 Parts list
Fig.5 Bolt for 4-bottom
Fig.4 Bolt goes through 
top two bars
Step 4: Fig 6 through Fig.8 shows the parts lists for the assembly of the plant rack.
Fig.6 Hook directions
Fig.7 Hooks open
Fig.8 Hooks closed

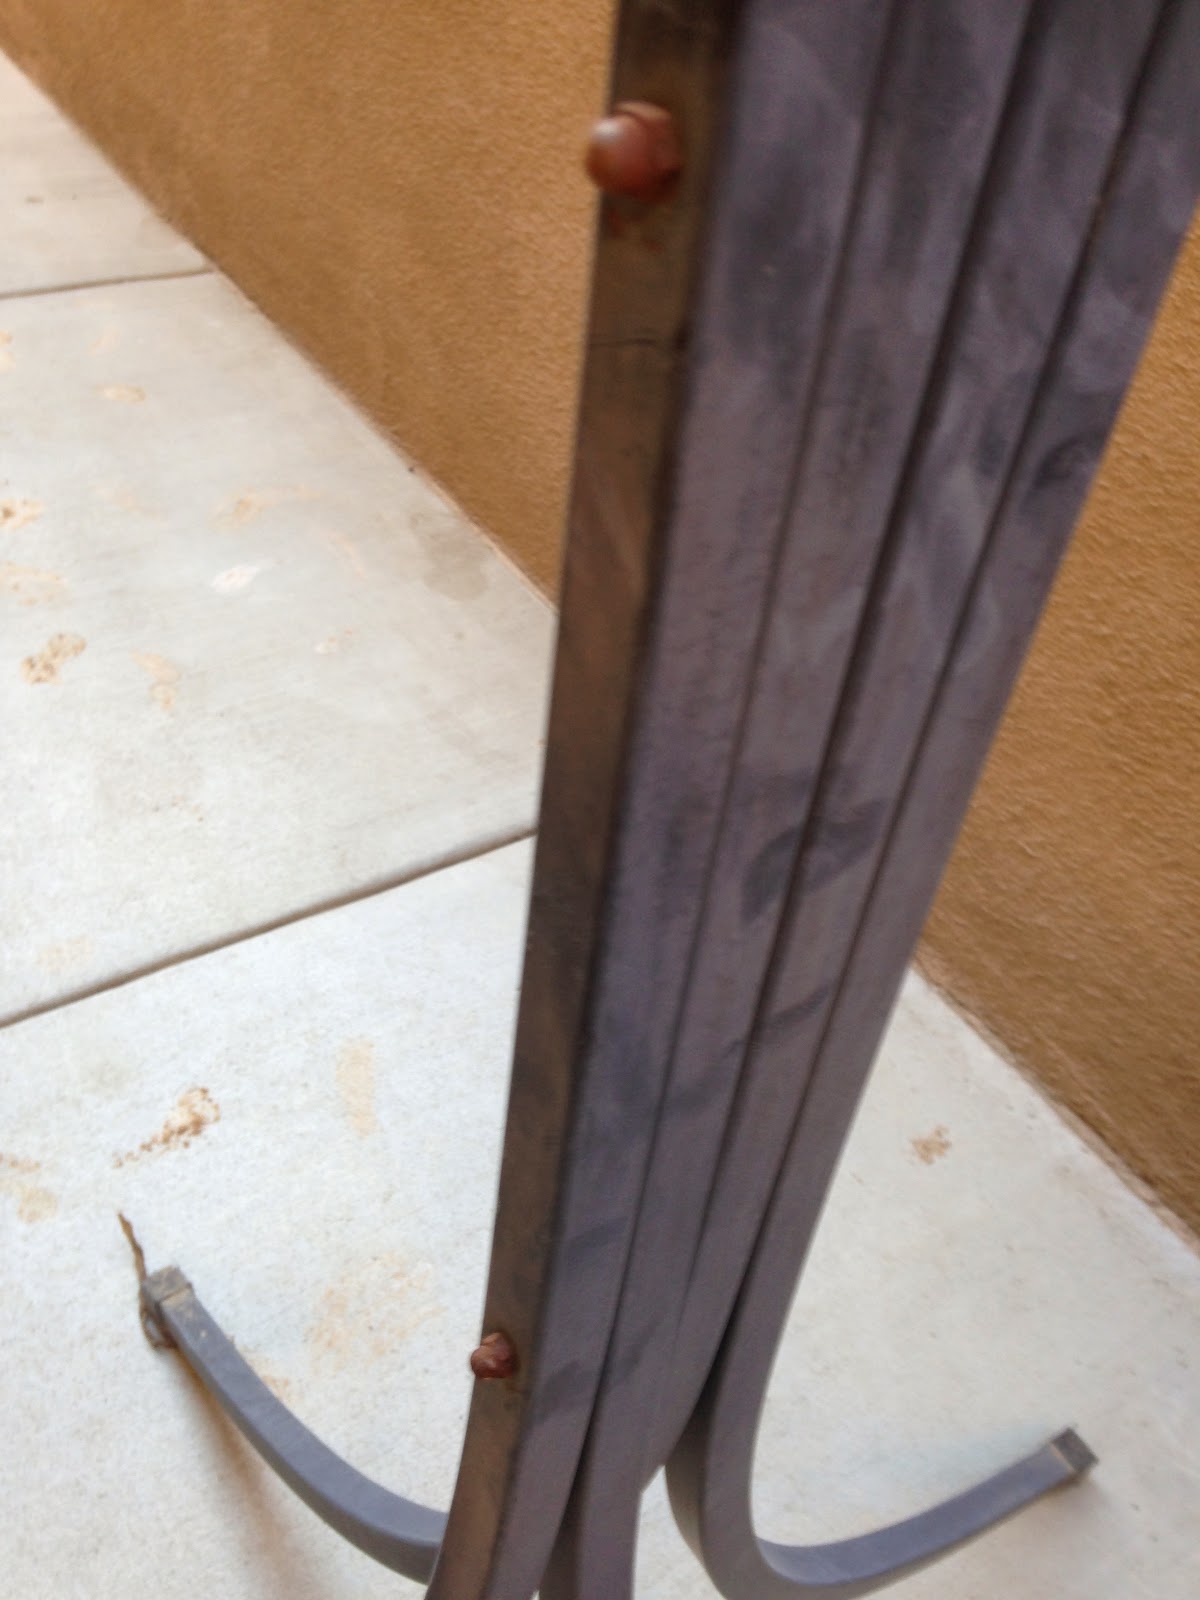
Step 5: Fig.9 shows that the feet have rubber so no rust stains on the patio cement.
Fig.9 Rubber feet covers

Step 6: Fig.10 shows the final picture. Fig.11 shows the commercial picture of what the plant stand looks like after installation. The pictures of the drawn plans above were of the AppleGate® garden stand system.
Fig.10 Job finished
Fig.11 AppleGate® box 
plant stand


Update: DIY Advisor has New blogs check them today:
  • Cookie Alert: European Union laws requires that you know that this blog uses cookies. If you are concerned about this please click here to see how Google uses this information.

Note: The DIY Advisor assumes no liability for omissions, errors or the outcome of any jobs. The reader must always exercise reasonable caution, follow Current codes and regulations that may apply, and is urged to consult with a licensed contractor if in doubt about any steps on these posts. All names were changed to protect client's privacy. DIY Advisor. Reproduction of site content including photos without permission prohibited. All rights reserved. © Copyright 2011-


Sunday, February 15, 2015

How to Transplant a Hydrangea

Fig.1 Pruning shears
By Gary Boutin
 
Supplies and Tools: 
Clean water
Miracle-Gro® -
      Moisture Control® Potting Mix
Potting spade  
Potting rake
Plastic tarp

It's time to replant around my front patio. This post address how to plant Hydrangea plant.

This post shows the fifteenth steps on how to plant a patio Hydrangea.

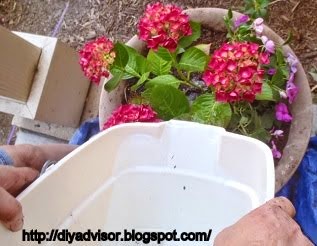
Step 1: Fig.1 shows a healthy Hydrangea plant in nicely potted soil. Hydrangea can get root bound this is were the plant roots wraps itself around the bottom of the pot. If it was in the soil the roots would just continue to grow longer in search of water and nutrients.  
Step 2: Fig.2 shows that Miracle-Gro® Moisture Control® Potting Mix. To check information about the Miracle-Gro® Moisture Control® Potting Mix click on the United States Material Safety Data Sheet.

Fig.2 Miracle Grow Potting Soil
Step 3: Fig.3 shows that the removal of the Miracle-Gro® Moisture Control® Potting Mix is done by using a small plastic pot. Pouring the soil from the bag is difficult without it going all over the plastic tarp and not in the pot.
Fig.3 Removal process
Step 4: Fig.4 shows potting spade with black Plastic Handle.
Fig.4 Potting Spade
Step 5: Fig.5 shows the plant is being removed of the existing pot.
Fig.5  Removal
Step 6: Fig.6 shows the root bound plant. This one is not as bad but this plant has been replanted several time. 
Fig.6 Root bound
Step 7: Once the new pot decided place some plant roots, or dried leaves in the bottom of the pot so the new plant can have something to feed on while its growing. This part is optional because the soil that is being used comes with soil amendment and water inhibitors.
Fig.7 Soil food
Step 8: Remove the new soil from the potting soil bag and place the soil loosely into the pot to be used. Fig.8 through fig.10 shows the soil is being placed into the new pot.
Fig.8 Loose soil
Fig.9 Spade to smooth the soil
Fig.10 Last potful
Step 9: Fig.11 shows a perfect environment for the new Hydrangea.
Fig.11 loose dirt
Step 10: Fig.12 shows the plant removal from its existing pot.
Fig.11 Plant removed
Step 11: Fig.13 shows the Hydrangea plant is on the black tarp and is ready for transplanting. Fig.14 shows the Hydrangea plant is in its new home.
Fig.13 Plant without a home
Fig.14 New condo
Step 12: Making a hole with both of my hands and placing the pulled apart bounded plant into this new pot. Fig.15 shows that the the soil was placed around the plant leaving about 1-inch to the top edge of the new pot.
Fig.15 Plant Time
Step 13: Fig.16 shows that the last step was to place clean water around the plant. Thoroughly saturate the soil and the plant into its new home.
Fig.16 water soil
Step 14: Fig.17 to fig.18 shows the plant is fully transplanted and is now on the front patio.


Fig.17 Hydrangea
Fig.18 Flowers
Step 15: Fig.19 and fig.20 shows a month later and all the plants including the Hydrangea are blooming.
Fig.19 Blooming flowers
Fig.20 Happy flowers


Update: DIY Advisor has New blogs check them today:
  • Cookie Alert: European Union laws requires that you know that this blog uses cookies. If you are concerned about this please click here to see how Google uses this information.

Note: The DIY Advisor assumes no liability for omissions, errors or the outcome of any jobs. The reader must always exercise reasonable caution, follow Current codes and regulations that may apply, and is urged to consult with a licensed contractor if in doubt about any steps on these posts. All names were changed to protect client's privacy. DIY Advisor. Reproduction of site content including photos without permission prohibited. All rights reserved. © Copyright 2011-


How to Repair Kitchen Wall when the Old Backsplash was Removed

Fig.1 The tools
By Gary Boutin

Supplies and Tools: 
Electric cords (Fig.1 shows a 50 foot cord)
Paint roller frame and small cover
Primer white (Kilz)
Porter Cable disc sander electric
Hook loop discs 60-grit (contractors pack)
Newspaper or better Kraft Paper 1-inch 
Scissors (paper and tape)
Texture orange-peel

A neighbor near us hired a local handyman to removed the 30 year old tile backsplash. The adhesive behind the aging tiles was very hard to remove. The handyman said he would return to finish the job the next day. Since they paid him up front for the job, he decided that the job was too hard to finish. He never returned.

This post shows the eight steps to repair the wall damage from a removed tile backsplash.

Step 1: Fig.1 shows some of the tools used to do this project.
Step 2: Fig.2 shows everything was removed from the counter top. Placing the newspaper or Kraft paper on the counter top will protect the top from getting scratched. Fig.3 shows a inexpensive chisel used to remove the brown adhesive from the kitchen wall. Fig.4 shows the electrical cord is out so the sander can reach all the areas of the kitchen. Here we are using a Porter-Cable 5" Random Orbit Sander. You will also need extra disks hook loop discs 60 grit is what was chosen for this job. Purchase a contractor's pack and get the best deal.

Fig.2 Orange Chisel
Fig.3 Paper on counter
Fig.4 Porter Cable Sanding disks
Step 3: Fig.5 shows that the adhesive was cut from the wall board and only the cardboard is left. Presently the cardboard is rough and now that the adhesive is completely removed. It's time to sand the wall down flat. 

Fig.5 Damaged sheetrock
Step 4: Fig.6 shows the end wall was sanded and the cardboard is flat and not protruding out as in Fig.5 when the cardboard was sticking out of the wall. Fig.7 shows another angle of the wall by the electrical plate the wall is sanded smooth.
Fig.6 Side view sanded wall
Fig.7 Front view sanded wall
Step 5: The next step is to apply joint compound over the sanded areas. After the wall is dry then the next step is to sand the wall using wall screens as perfect has possible. This is a very dusty job.

Step 6: Prior the texturing the wall, several coats of joint compound was applied and sanded flat. Fig.8 through fig.10 shows the application of orange peel texture once the wall was repaired and now is flat. Applying texture hide the wall imperfections.
Fig.8 Texture #1
Fig.9 Texture #2
Fig.10 Texture #3
Step 7: Fig.11 shows that the counter top has had a plastic tarp to protect the counter top from paint drops. A small roller frame and roller cover was used because it was more practical than using a standard 9 inch roller and cover. The long handle helps reach difficult parts of the wall, underneath wooden cabinets.
Fig.11 Primer roller
Step 8: Fig.12 shows the first coat of primer is being applied to the wall. Fig.13 shows the finale coat of white primer being applied to the wall before the owner has it painted.

Fig.12 Applying primer
Fig.13 Job finished

Update: DIY Advisor has New blogs check them today:
  • Cookie Alert: European Union laws requires that you know that this blog uses cookies. If you are concerned about this please click here to see how Google uses this information.

Note: The DIY Advisor assumes no liability for omissions, errors or the outcome of any jobs. The reader must always exercise reasonable caution, follow current codes and regulations that may apply, and is urged to consult with a licensed contractor if in doubt about any steps on these posts. All names were changed to protect client's privacy. DIY Advisor. Reproduction of site content including photos without permission prohibited. All rights reserved. © Copyright 2011-